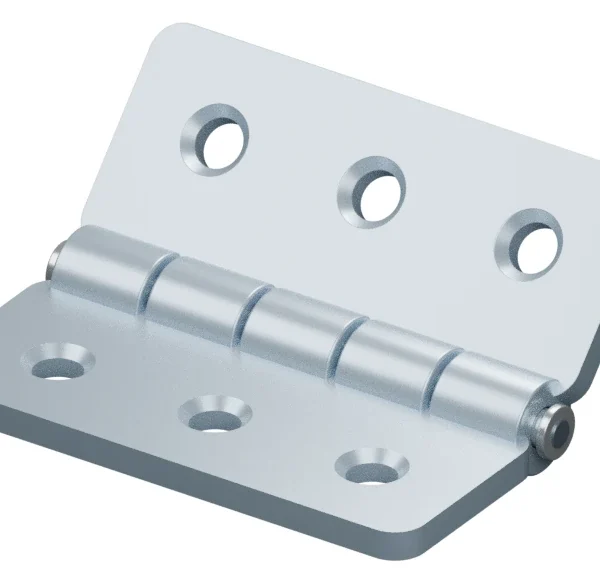
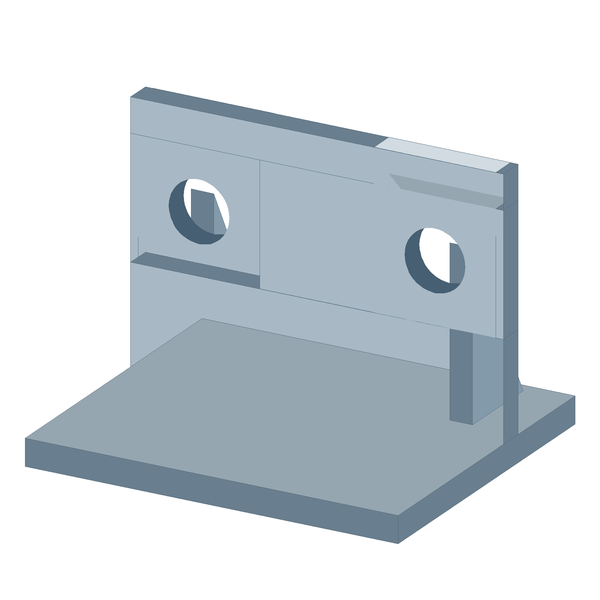
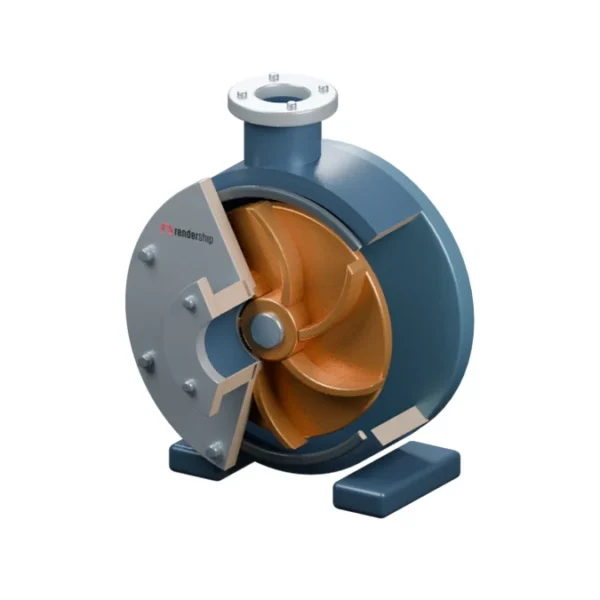
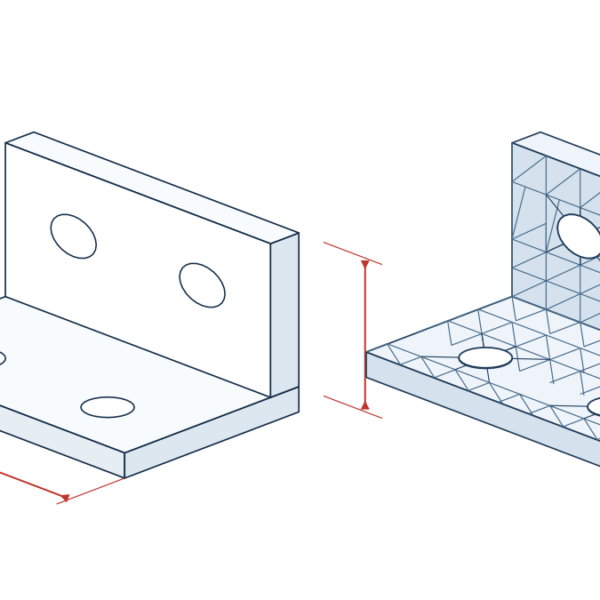
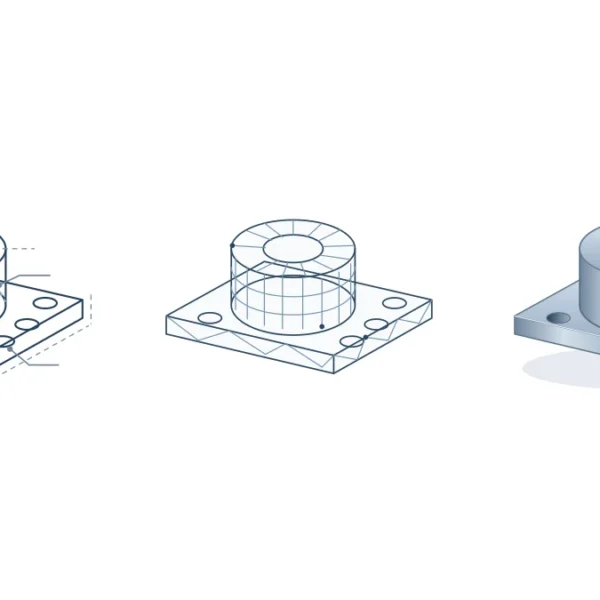
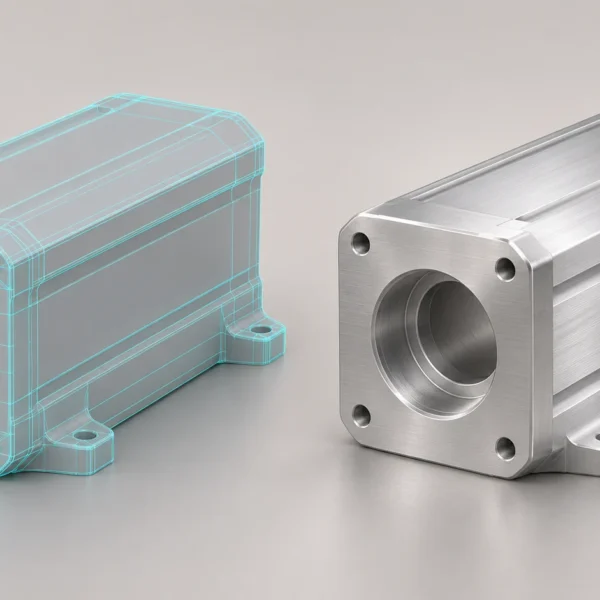
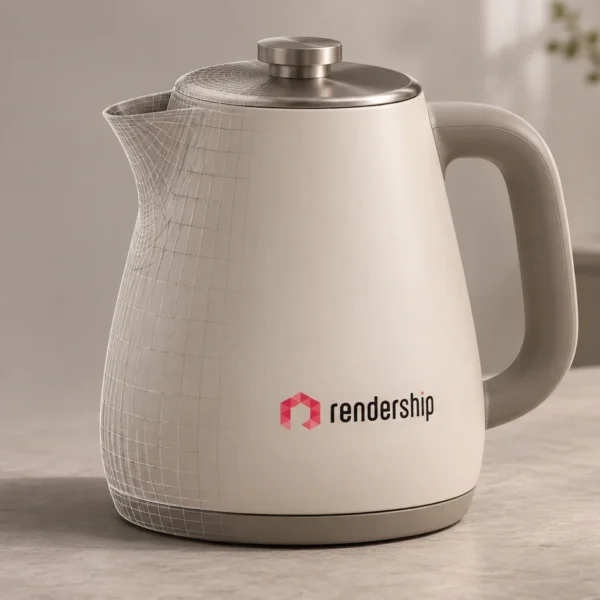
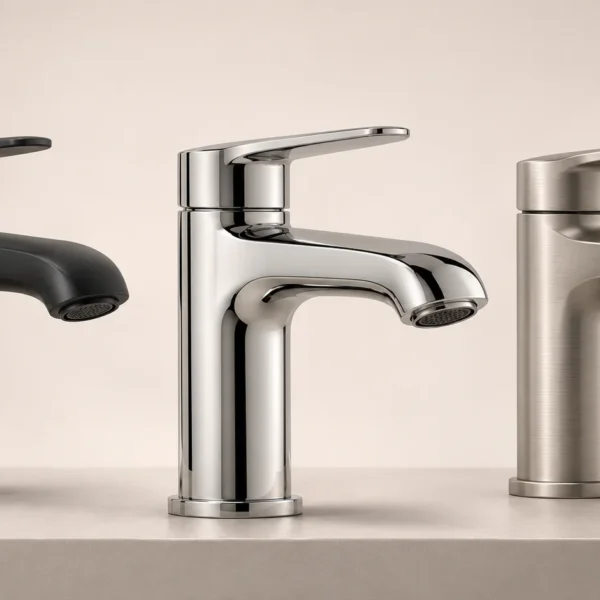
What is 3D modelling? It is the process of building the three-dimensional digital shape of an object. A model defines dimensions, surfaces and how the parts fit together. In a shower head model, for example, that includes the body diameter, the rounded edges and the position of the connector. A catalogue image or an assembly animation can come from the model, but neither is the model itself.
Modelling, visualisation and rendering
Modelling defines the geometry. Visualisation places that geometry in a scene with materials, lights and a camera. Rendering calculates the image from the chosen camera. One approved model can produce both a white-background catalogue image and an image that shows the product in use.
What is 3D modelling with a mesh, CAD or a sculpt?
Build a polygon mesh for visual assets and animation. For a closer look at vertices, edges and faces, see the Blender mesh guide. Choose parametric CAD when edits need to preserve dimensions and relationships. Use digital sculpting for organic detail, then plan a cleaner mesh if the model needs to move or load in real time.
Start with the output and reliable references
Decide whether the model is for still images, animation, a web viewer or 3D printing. Start with measured drawings or CAD if available. Otherwise, combine front, side and rear photographs with a few verified dimensions. If the back of a product is missing, mark it as unknown rather than treating a guessed detail as fact.
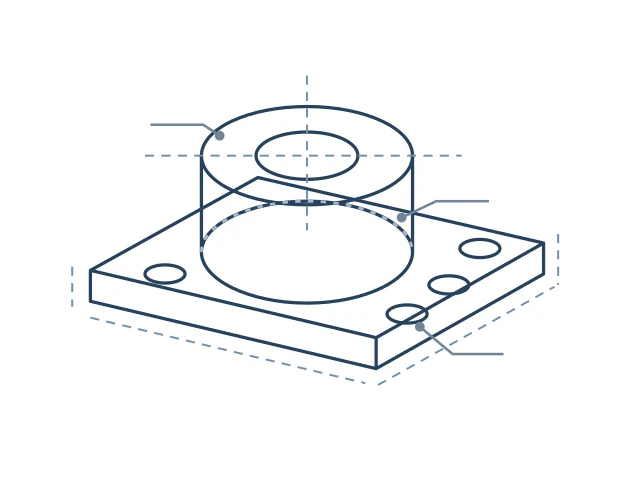
Build the form before the detail
Establish the silhouette, proportions and major parts first. Next, model connections, rounded edges and details that the camera will show. For animation, keep moving parts separate and place their pivot points on the correct axes.
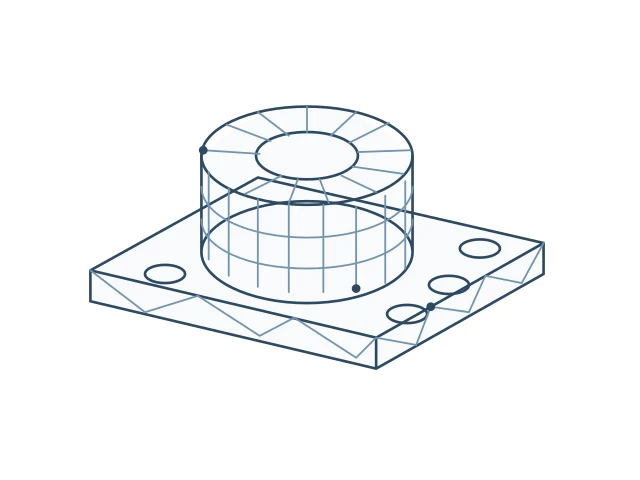
UV mapping lays a model’s surface out in two dimensions so labels, logos and textures land in the right place. Check the direction of wood grain or brushed metal, the scale of repeating textures and any visible seams. Material settings such as roughness and transparency affect how the surface responds to light.
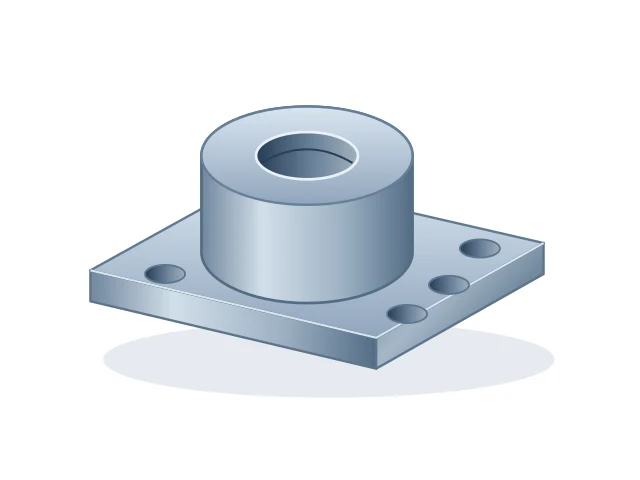
Check the model against its intended use
- Still images: View at delivery size and compare the materials, colour and labels with approved references.
- Animation: Check the motion sequence and look for parts that pass through one another.
- Web viewers: Verify units, file size and loading behaviour on the target platform.
- 3D printing: Check that the geometry is closed and the wall thickness suits the chosen printer and material.
If you are briefing a supplier, send the best geometry reference you have, the key dimensions and the intended output. For project-specific advice, see Rendership’s 3D product modelling service.