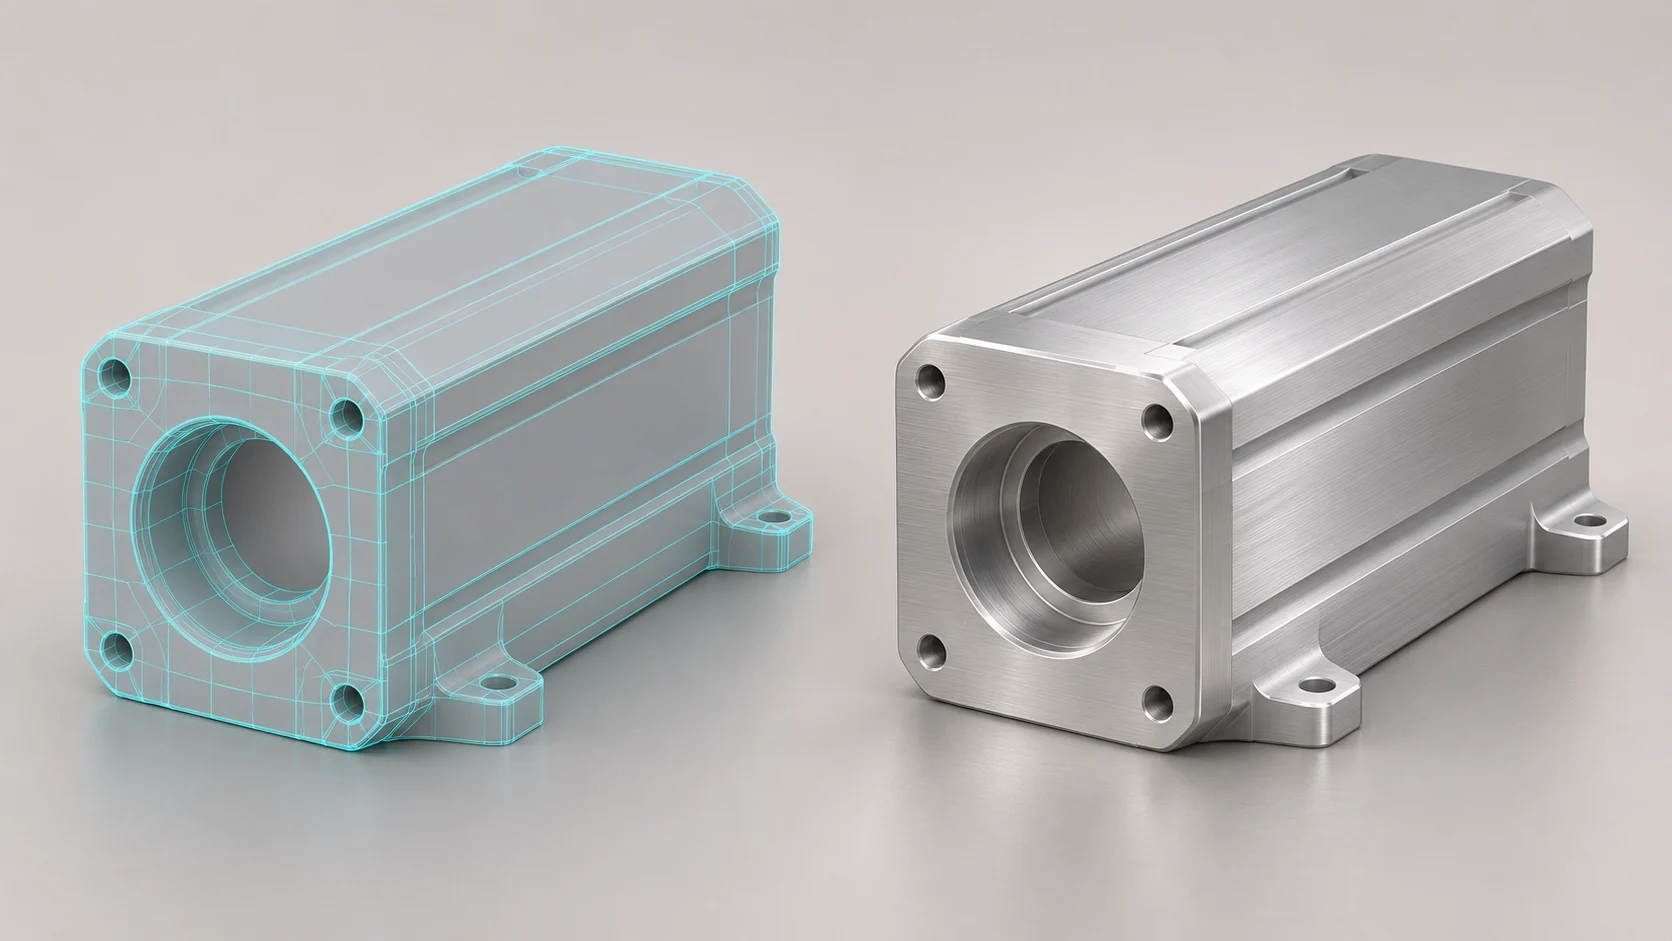
To prepare CAD files for product rendering, confirm the current product revision, units, component structure and material references before sending the model. Add a short brief explaining the images you need. A file that opens successfully may still need work before it can support an accurate product visual.
This guide is for manufacturers and marketing teams commissioning catalogue images, website visuals or a product launch. It focuses on handing over the right information while preserving the original engineering files.
1. Choose the current CAD files for product rendering
A production model, a proposed update and an older catalogue version can sit in the same folder. Identify the approved file using a product code, revision and date. If drawings, photographs and CAD geometry disagree, state which reference should take priority.
A changed mounting hole matters even when the final image looks convincing. Use an identifiable description such as “P100, revision 03, approved outer housing” rather than “latest file”. The product codes in this article are illustrative.
2. Agree on an exchange format
STEP, OBJ and STL carry different kinds of data. Do not assume that every application opens a file in the same way or preserves all its materials. Ask the visualisation team which exchange format fits its workflow. A test with one representative product can reveal issues before you send a full collection.
- STEP: An option for transferring CAD geometry. Check whether the receiving application supports the import and needs any further conversion.
- OBJ or STL: Can transfer polygon-based surfaces. Curved edges may look faceted if the exported mesh has insufficient detail for the intended view.
- Native project files: Include required linked parts, textures and references when these are used. State the originating software version.
The official Autodesk Fusion mesh export guide lists unit and file-structure choices alongside the format. Those options help explain why an extension alone is not a complete handover specification. They do not mean every format works directly in every rendering application.
3. Verify scale against a known dimension
State whether the file uses millimetres, centimetres or metres. Provide one easily checked dimension, such as the overall height or housing width. Ask the team to compare this measurement with the imported model.
Pay particular attention to unit interpretation when exchanging STL and OBJ files. Autodesk’s technical guidance on export scaling recommends matching the export units to the receiving application. Opening the model is therefore only the start of the check.
4. Keep components and visible details identifiable
Keep parts with different materials separate, such as the housing, glass panel, gasket, cover and label. An export that combines everything into one surface can make material assignment or animation preparation harder.
Avoid deleting components simply to reduce file size. First establish what the final views need to show. An internal component that is unnecessary in an exterior still may be essential in a cutaway or assembly animation. Preserve the source engineering file and assess any simplified copy separately.
If a usable model is unavailable, dimensioned drawings and photographs from several angles may provide a starting point. Discuss the 3D product modelling work with the team and identify any missing information before you start.
5. Supply materials and labels as reference information
A grey CAD surface may not describe the real product finish. Include material names, colour references, gloss level, texture direction and physical sample information where available. Chrome, brushed metal and matte paint may require more than a colour change.
Provide approved artwork for logos and labels, together with their size and location on the product. Add close-up references for text that must remain legible. Screen colours are not a substitute for a physical sample, so agree on the approval method when colour matching is critical.
6. Match each variant to the required images
Record finish changes separately from changes in dimensions or components. Only include colour and size combinations that you actually sell. List the required views against each product code.
An illustrative image list could be:
- P100-B: standard housing, black finish; front, rear and detail views.
- P100-G: the same housing in grey; the same three camera angles.
- P200-B: longer housing in black; three views following a separate geometry check.
This calls for nine images, but it includes two housing designs to check. Compare the full scope rather than image count alone. Our guide to 3D product visualisation pricing explains how model preparation, materials and deliverables affect a quote.
CAD files for product rendering: handover checklist
- Is the product code, current revision and authoritative reference clear?
- Does the exported file reopen without missing linked components or textures?
- Have you stated the units and supplied one real dimension for verification?
- Can the team identify different materials and moving components?
- Have you included finish references, logos and label artwork?
- Have you listed variants, camera angles, intended channels and output dimensions?
- Have you identified the reviewers for technical accuracy and visual direction?
- Have you checked usage rights and any confidentiality conditions?
Agree on the transfer method before sharing confidential production data. Share only the files needed for the project with suitable access controls, rather than placing an entire technical archive behind a public link.
How can you commission product renders without CAD files?
A visualisation team can build a model from sufficient measurements, technical drawings and photographs. However, the team must not guess missing dimensions or hidden parts and call them accurate. First check the references and resolve any gaps. Then ask the appropriate reviewer to approve those details.
Send CAD files for product rendering with a clear brief
For a 3D product visualisation enquiry, describe the product, available file format, number of variants and intended use of the images. Add the views and details that matter to your audience. Send a short project summary through our contact page to begin discussing the scope and file handover.
If you also need motion or installation sequences, mention them at the start. A model suitable for still images may need additional component separation and technical references for product assembly animation. Timing and pricing depend on the actual files and agreed deliverables.