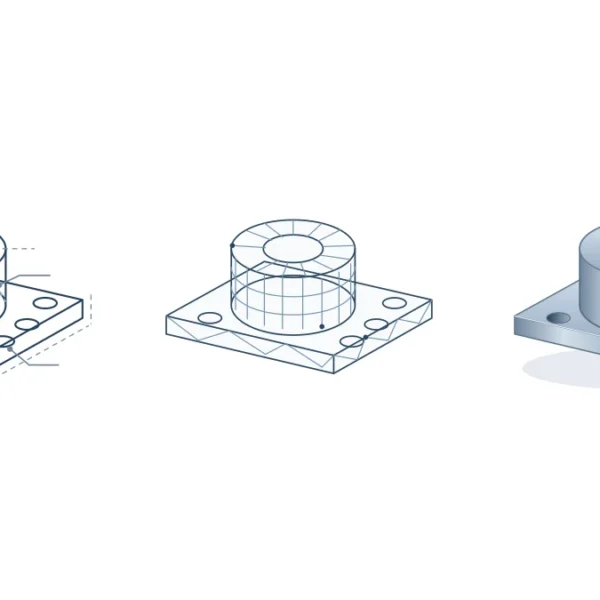
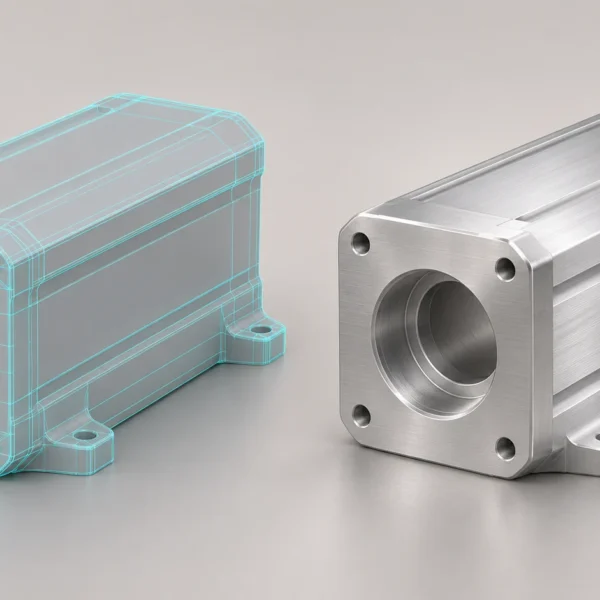
If your dealers cut a stocked profile or panel to fit a particular job, a video that starts on site leaves out one of their main decisions: what to cut, where to measure and why. A dealer installation training video should follow the same part from the factory pack to the workshop and into the finished installation.
Map the three handoffs before requesting a quote
Start with your packing list: what is standard and what is order-specific? For the workshop, supply the approved drawing or sample job that shows which measurement controls the part. For the site, supply the installation order and check points. Use one part identifier across all three stages so viewers know they are following the same component.
Example: follow one aluminum rail from stock to site
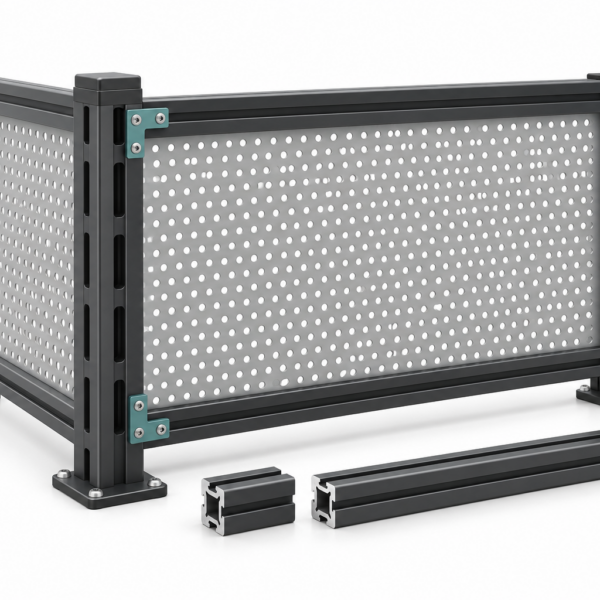
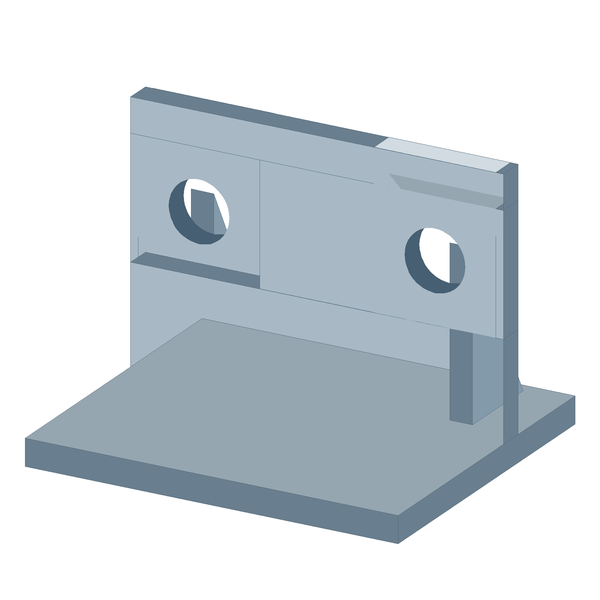
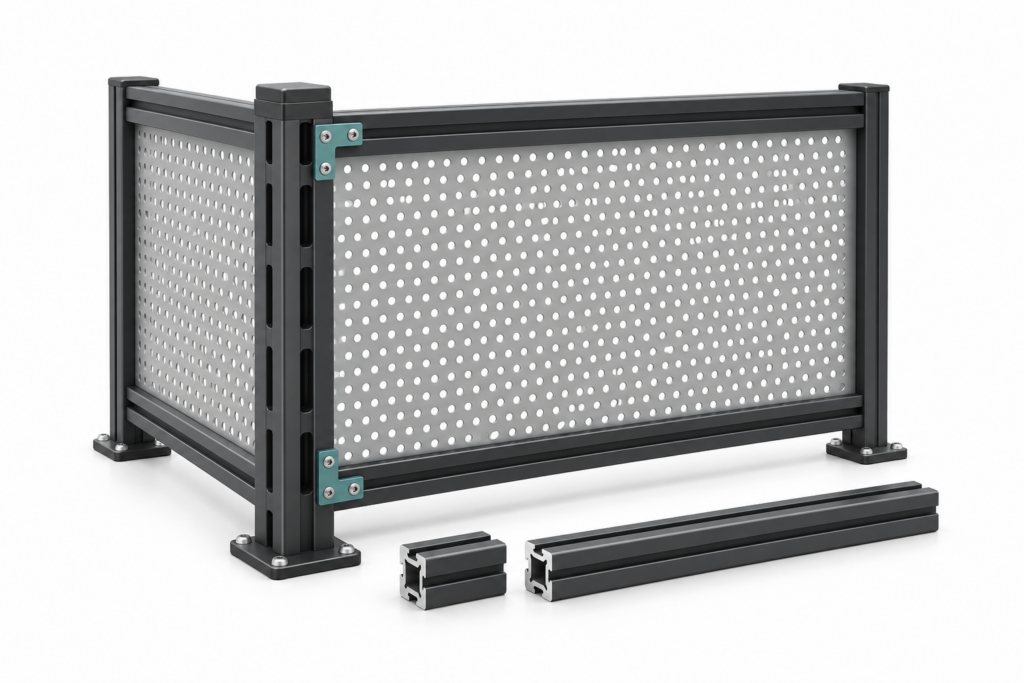
Consider a modular aluminum enclosure. In the factory pack, show a stock rail labelled R1 alongside the connectors delivered with it. In the dealer workshop, keep that identifier on screen while the approved job drawing shows the reference faces. Identify the end to keep and the end to trim. Once prepared, carry the R1 label to the site scene. Viewers can now see which rail goes into which opening and how the installer checks the fit. R1 is an example identifier, not a real product code or a cutting specification.
Which variants need a separate dealer installation training video?
Ask the studio to quote a common sequence and list the scenes that change by model. A different length may only need a separate measurement scene. If the fixing position, connection or sequence changes, show that installation step separately. Tell the studio which versions and languages each dealer market needs and where dealers will watch them.
Decide what a dealer needs to see in each scene
Use the workshop chapter to explain why the cut is needed, not just to show a saw. If different enclosures use the same rail but different connector locations, show the common measuring and preparation steps once. Then isolate the connection scene for each version. Have the technical team supply and approve the allowances and tolerances; do not derive them from the illustration.
Use one real job to check the draft
Have your product team confirm the applicable drawings and what the video may show. Ask a workshop lead to check that the measuring reference, tool step and retained end are correct. Ask a field installer to check what arrives ready, what goes in first and how the final fit is confirmed. Do not use a sample cut length as a rule for other jobs; use the manufacturer’s approved data.
Approve a pilot before distributing it
Ask one workshop reviewer to identify the correct rail and measurement reference using only the draft and the approved drawing. Ask a site reviewer to explain where the prepared rail fits and which check completes the step. Deliver the dealer videos with a simple file list: product code, manual revision, language and where each version is published. Assign ownership of removing old files or redirecting existing QR codes when a revision changes.
Set delivery acceptance before rollout
Before you send the videos to dealers, verify that each opens in the intended channel, carries the correct product code and instruction revision, and has the requested languages or captions. Decide who replaces outdated clips when the specification changes. The video supports the approved installation instructions; it does not replace them.
Ask for a version list alongside the dealer installation training video. For example, list the product code, market, language and current revision for each file. If dealers access it from a QR code, test that the code resolves to the correct version before rollout. For the supplier-side brief and sign-off process, see how to commission an industrial installation video.
See the installation and assembly animation guide for dealers, or share an example job with Rendership to define the production scope.