Product assembly animation explains a product’s components and assembly sequence through three-dimensional visuals. A useful video shows viewers where each part belongs and in what order the steps happen. Attractive images alone are not enough: first clarify the product’s technical structure, the intended audience and the approved assembly process.
As a manufacturer, you may already have a CAD model. That file does not, by itself, make an understandable installation video. Decide what information to show, which details to simplify and who will check technical accuracy. This guide walks through the preparation required before animation production begins.
When is product assembly animation useful?
A single photograph does not always explain how a component fits. A connection inside a closed housing may be hidden from view. Similarly, the orientation of nearly identical parts can be difficult to distinguish in a drawing. Animation can clarify these details by changing the camera angle and showing components in sequence.
Furniture fittings, building components, appliances and industrial products are possible applications. However, the same presentation will not suit every product or viewer. An end user may need simple steps to follow, while a technical team may need a closer look at connections and inspection stages.
Start with “What should the viewer understand after watching?” rather than “How many minutes should the video be?” Use that objective to decide the length and number of scenes.
Separate assembly instructions from product promotion
A promotional animation highlights appearance, features and product benefits. Assembly instructions prioritise the sequence of operations. Camera movement, lighting and materials should support that sequence. A dramatic transition is unhelpful if it hides a critical connection.
Sometimes one video can serve both purposes. However, a long introduction makes someone who needs installation guidance wait. A short promotional video and separate assembly chapters may be more practical. Explore our 3D product animation service for the broader production approach.
What files do you need for product assembly animation?
Collecting missing information early reduces uncertainty later. Before sharing files, identify the current product version. An old model packaged with a new technical drawing could cause the production team to work from the wrong component.
- Current product model or technical drawings: These help explain geometry, dimensions and connections.
- Parts list: Match the names and codes of similar components.
- Installation manual: Supply the manufacturer-approved sequence and warnings.
- Photographs or a short reference video: Explain movements and practical details that the model does not show.
- Intended use: Specify whether the video will appear on a website, a training screen or alongside the product.
If you do not have CAD files, say so at the start. Building a model from photographs and measurements is a separate task, and the available information must first be assessed. You can plan this preparation alongside 3D product modelling.
Plan the animation scene by scene
You do not need to turn every paragraph of the manual into a separate scene. Instead, give each scene one main job. Viewers should know what to look at during each step. Keep the component’s final position visible briefly before moving on.
1. Show the starting condition
Explain the initial state of the product and the parts to be used. Identify components that are already installed. This helps viewers connect the contents of the package with the finished product. Show required tools only on the basis of information confirmed by the manufacturer.
2. Clarify orientation and movement
A component must face the right way as well as reach the right position. Close-ups, simple arrows and short labels can help. Do not speed up movement until it becomes difficult to follow, or leave a critical surface behind the camera.
3. Show the connection and check
Do not end the scene as soon as the parts meet. Show the completed connection and correct position. Define any technical inspection with the manufacturer. The visual production team must not guess torque, pressure or electrical connection specifications.
4. Summarise the finished state
Show the completed product and important checkpoints. Repeat chapter titles if useful. Consider short, named sections so viewers can return to a specific step without watching the entire video again.
Use cutaways and exploded views carefully
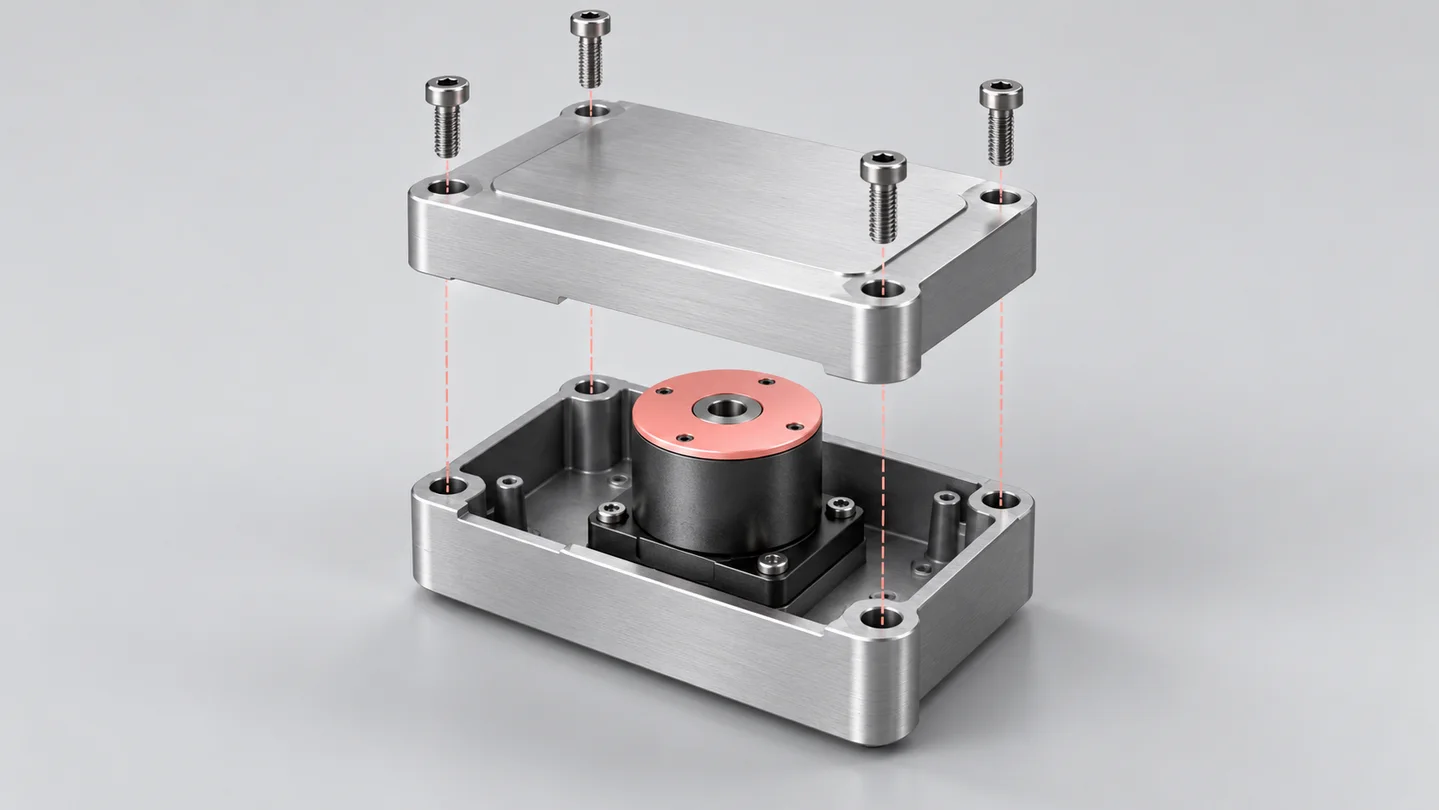
An exploded view separates components to show their relationship. A cutaway reveals details behind an outer surface. Both can clarify enclosed connections in product assembly animation.
Make sure viewers do not mistake the direction of an exploded-view movement for the real assembly procedure. A movement used only for explanation should not appear to be a practical instruction. Add a short label where necessary, and relate the cutaway to the overall product.
Colour highlighting can also help: emphasise the component currently being discussed and simplify the others. Do not rely on colour alone. Part names or numbers provide another way to follow the sequence.
Arrange technical approval before final rendering
High image quality cannot correct an inaccurate installation sequence. Review the scene plan and a simplified motion preview first. Approve part order, movement direction and camera angles before progressing to materials, lighting and final rendering.
Appoint one technical contact to coordinate feedback. Combine comments from different teams in a single list, with a scene number or timecode for each point. Specific notes are easier to act on than a comment such as “that part is wrong”.
Product assembly animation does not replace the manufacturer’s safety instructions or required technical training. Qualified technical personnel must assess operations involving electricity, pressure, load-bearing components or similar hazards. The same team should approve the warnings and installation steps shown in the video.
Define the scope when requesting a quote
Video duration alone does not define the work. The condition of the supplied model, the number of moving parts, hidden details and product variants all affect the scope. Discuss on-screen text, voice-over, languages and delivery formats at the outset.
A short project brief can answer these questions:
- Which product and installation stage should the animation explain?
- Is the audience an end user, a dealer or a technical team?
- Do you have current CAD files, drawings or an installation manual?
- Will the video show one product or several variants?
- On which screens and in which languages will it be used?
- Who will approve technical accuracy?
For dealer-training requirements, see our installation and assembly animation guide. The checklist here focuses on preparing the production brief and technical approval process.
Frequently asked questions
Must one video show every product variant?
Not necessarily. Explain shared steps in one section and use separate short sections for different connections. Identify where the variants actually differ before planning the scenes. This helps avoid unnecessary repetition.
Can the video work without voice-over?
Short labels, part numbers and clear movements can support a silent explanation. More complex operations may require additional detail. Choose the approach according to the audience and viewing environment.
How do you update the animation when the product changes?
The work depends on the changed component and the available project files. A small colour change is not equivalent to a redesigned connection mechanism. Discuss version tracking, archive arrangements and a revision process in the initial proposal.
Start with accurate project information
The most useful starting point for product assembly animation is a clear objective and current technical information. Identify the audience, break the assembly sequence into simple scenes and obtain technical approval early. Then plan image quality and delivery formats around the intended use.
To discuss a project with Rendership, briefly describe your product and the assembly steps through our existing quote form. Add a current reference if available so we can clarify the scope from concrete information.